


NEWS
Categories List
Recent Posts


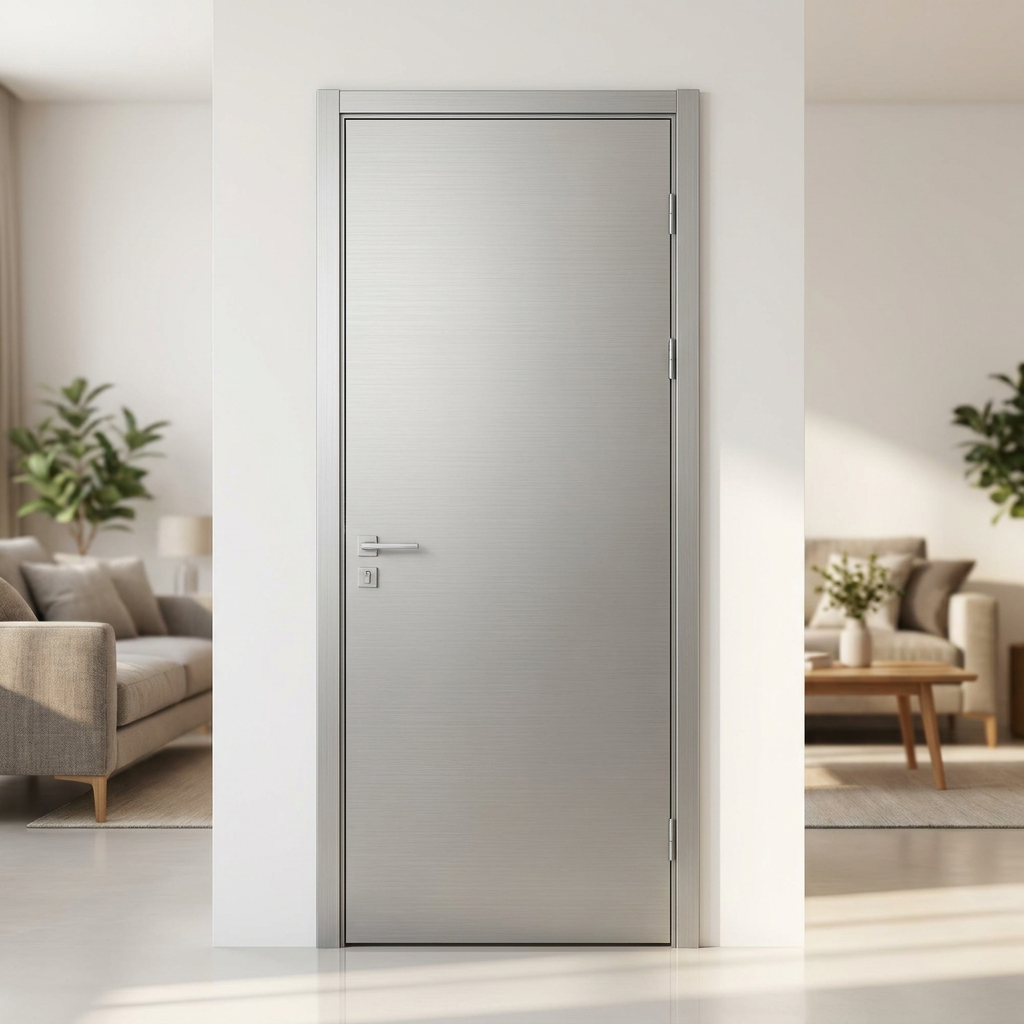

A frameless WPC invisible door stays flush when the concealed frame, closed door leaf, and finished wall share a coordinated reference plane. That plane must be established before the frame is fixed and before plaster, paint, wallpaper, or wall panels are applied. Hinge adjustment can correct small alignment errors, but its adjustment range cannot compensate for a frame installed at the wrong depth or a wall finished unevenly.
For a project manager, the priority is to approve the complete opening detail and assign responsibility for each interface. A Modern WPC Interior Frameless Invisible Door may look straightforward on an elevation, yet its appearance depends on work shared by the door installer, partition contractor, decorator, and flooring team. Elegant design survives installation when those trades work to the same dimensions and acceptance criteria.
Define which surface must be flush. An invisible door is generally designed to align with a specified wall face when closed. Do not assume that both sides will align, especially where wall thickness differs from the door assembly. Confirm the intended viewing side, opening direction, frame profile, and leaf thickness together. A change in swing direction may require a different frame arrangement or affect the clearance around the opening.
The approved section should show the structural opening, concealed frame, door face, finished wall surface, and floor build-up. Include the actual wall treatment: a skim coat and paint create a different finished plane from wallpaper or decorative panels. Where several finishes meet the doorway, show their junctions explicitly instead of leaving the installer to interpret an elevation.
A simple dimensional example illustrates the risk. If the frame is positioned for a painted wall and the design later adds a thicker wall panel, the door can appear recessed even though the frame remains plumb. Moving the leaf outward may exceed the hinge adjustment range or disturb its relationship with the frame stop and seals. Resolve finish changes before closing the wall around the frame.
Make the frame geometry a hold point. Check that the opening provides the fixing space and supporting construction required by the selected system. Concealed frames need secure anchorage; a decorative wall lining alone may not provide it. On lightweight partitions, coordinate the reinforcement around the opening before boarding conceals the supporting members.
Set the frame from an agreed finished-wall datum using suitable measuring equipment. Check both jambs for plumb, the head for level, the opening for square, and the frame for twist. A frame can look correct from the front while one corner sits forward of the others. That twist creates a condition in which one part of the leaf aligns and another remains proud.
Use the specified packing and fixing method, keeping the frame supported as fasteners are tightened. Excessive tightening can distort a jamb, while unsupported gaps can allow movement under repeated door operation. Foam, where permitted by the system, should serve its specified purpose; it should not substitute for required mechanical fixings or structural support.
Before surrounding finishes proceed, inspect the secured frame and, where the installation sequence permits, trial-fit the leaf. Record alignment against the intended wall plane. This is the least disruptive stage for correcting frame depth, twist, or inadequate support. Covering an unresolved error transfers it into more expensive finishing work.
Control the wall finish at the frame junction. “Frameless” describes the concealed appearance of the assembly; the frame still forms a junction with the wall construction. Follow the system’s detail for plastering flanges, reinforcement, compatible compounds, and movement accommodation. Bridging this junction with an arbitrary filler can leave a visible crack or an uneven edge.
The decorator should work to the established plane across the surrounding wall. Building up material immediately beside the frame can leave a raised border that becomes obvious under side lighting. Inspect with a straightedge spanning the wall and opening, then review under the intended lighting conditions. Grazing light can reveal local waviness that is difficult to see under temporary site lighting.
Confirm separately whether the WPC leaf is supplied prefinished or is intended to receive an applied finish. WPC formulations and surface layers differ, so use a coating or covering system approved for that particular leaf. Check preparation, primer, adhesive compatibility, permitted finish build-up, and any balancing requirements. Additional layers also affect edge clearances and may add weight to the hardware.
Where the same room includes other slim-profile openings, coordinate finish samples and junction drawings across the package. An adjacent Contemporary Aluminum Sliding Door Balun Series Slim Profile Modern Style may need a compatible visual treatment, but its sliding arrangement requires its own installation details. Keep the concealed hinged door’s frame depth, operating gaps, and adjustment requirements explicit in its separate drawing.
Adjust the leaf only after the frame is stable. Select concealed hinges for the actual leaf dimensions, finished weight, construction, and intended use. Confirm that the hinge attachment suits the WPC door structure. The material description alone does not establish screw-holding capacity, and the assembly may rely on reinforcement or defined fixing locations.
Use the hinge manufacturer’s adjustment sequence. Establish leaf height and consistent perimeter gaps, then refine lateral position and depth as the hardware allows. Recheck the whole opening after each adjustment because movement at one hinge can alter alignment elsewhere. Keep sufficient adjustment capacity available for commissioning rather than using it all to overcome installation errors.
Set clearances from the approved door-system requirements. An extremely narrow reveal may look attractive in a rendering but can lead to rubbing once finish thickness, installation tolerances, or movement are considered. The bottom gap also depends on the finished floor, thresholds, ventilation provisions, and any specified seals. It should not be copied automatically from the side gaps.
The latch and seals deserve equal attention. A leaf that becomes flush only when pushed firmly may have excessive seal compression or a poorly positioned strike. Adjust the closing relationship so the latch engages reliably without pulling the door out of plane. Open and close the leaf through its intended travel, checking for edge contact, hinge interference, floor contact, and clashes with adjacent finishes.
When the result is unsatisfactory, diagnose the pattern before changing hardware:
- If the entire leaf sits consistently proud or recessed, compare frame depth with the finished-wall datum and check the available depth adjustment.
- If one corner projects while the opposite corner aligns, check frame twist and leaf flatness before further hinge adjustment.
- If the hinge-side gap changes from top to bottom, inspect frame geometry, leaf position, and hinge fixing security.
- If alignment changes as the latch engages, inspect the strike, stop, and seal compression.
- If rubbing starts after decoration, inspect finish build-up at the leaf edges and frame rebate.
Accept appearance and operation together. Carry out the final inspection after the surrounding finishes and flooring are complete and the room has reached the service conditions specified for the assembly. Review the closed door from the main approach and under the intended lighting, then operate it repeatedly. A photograph of a flush door does not demonstrate satisfactory closing, clearance, or fixing security.
Record the agreed reveal appearance, wall alignment, operating condition, and any outstanding defects at handover. Leave adjustment instructions and access information with the maintenance team, especially where removable covers conceal hinge screws. A small later correction is manageable when the hardware remains accessible; it becomes disruptive when decorative work has covered the adjustment points.
For repeated doors, approve one completed opening before releasing the same detail across the project. That opening should include the final wall treatment, floor level, hardware, and lighting. It gives every trade a physical reference for what “flush” means—and establishes where a deviation must be corrected before it is repeated.
Leave A Reply
Need More Details?
Contact me for details on creating and managing design projects, project features, and services and prices